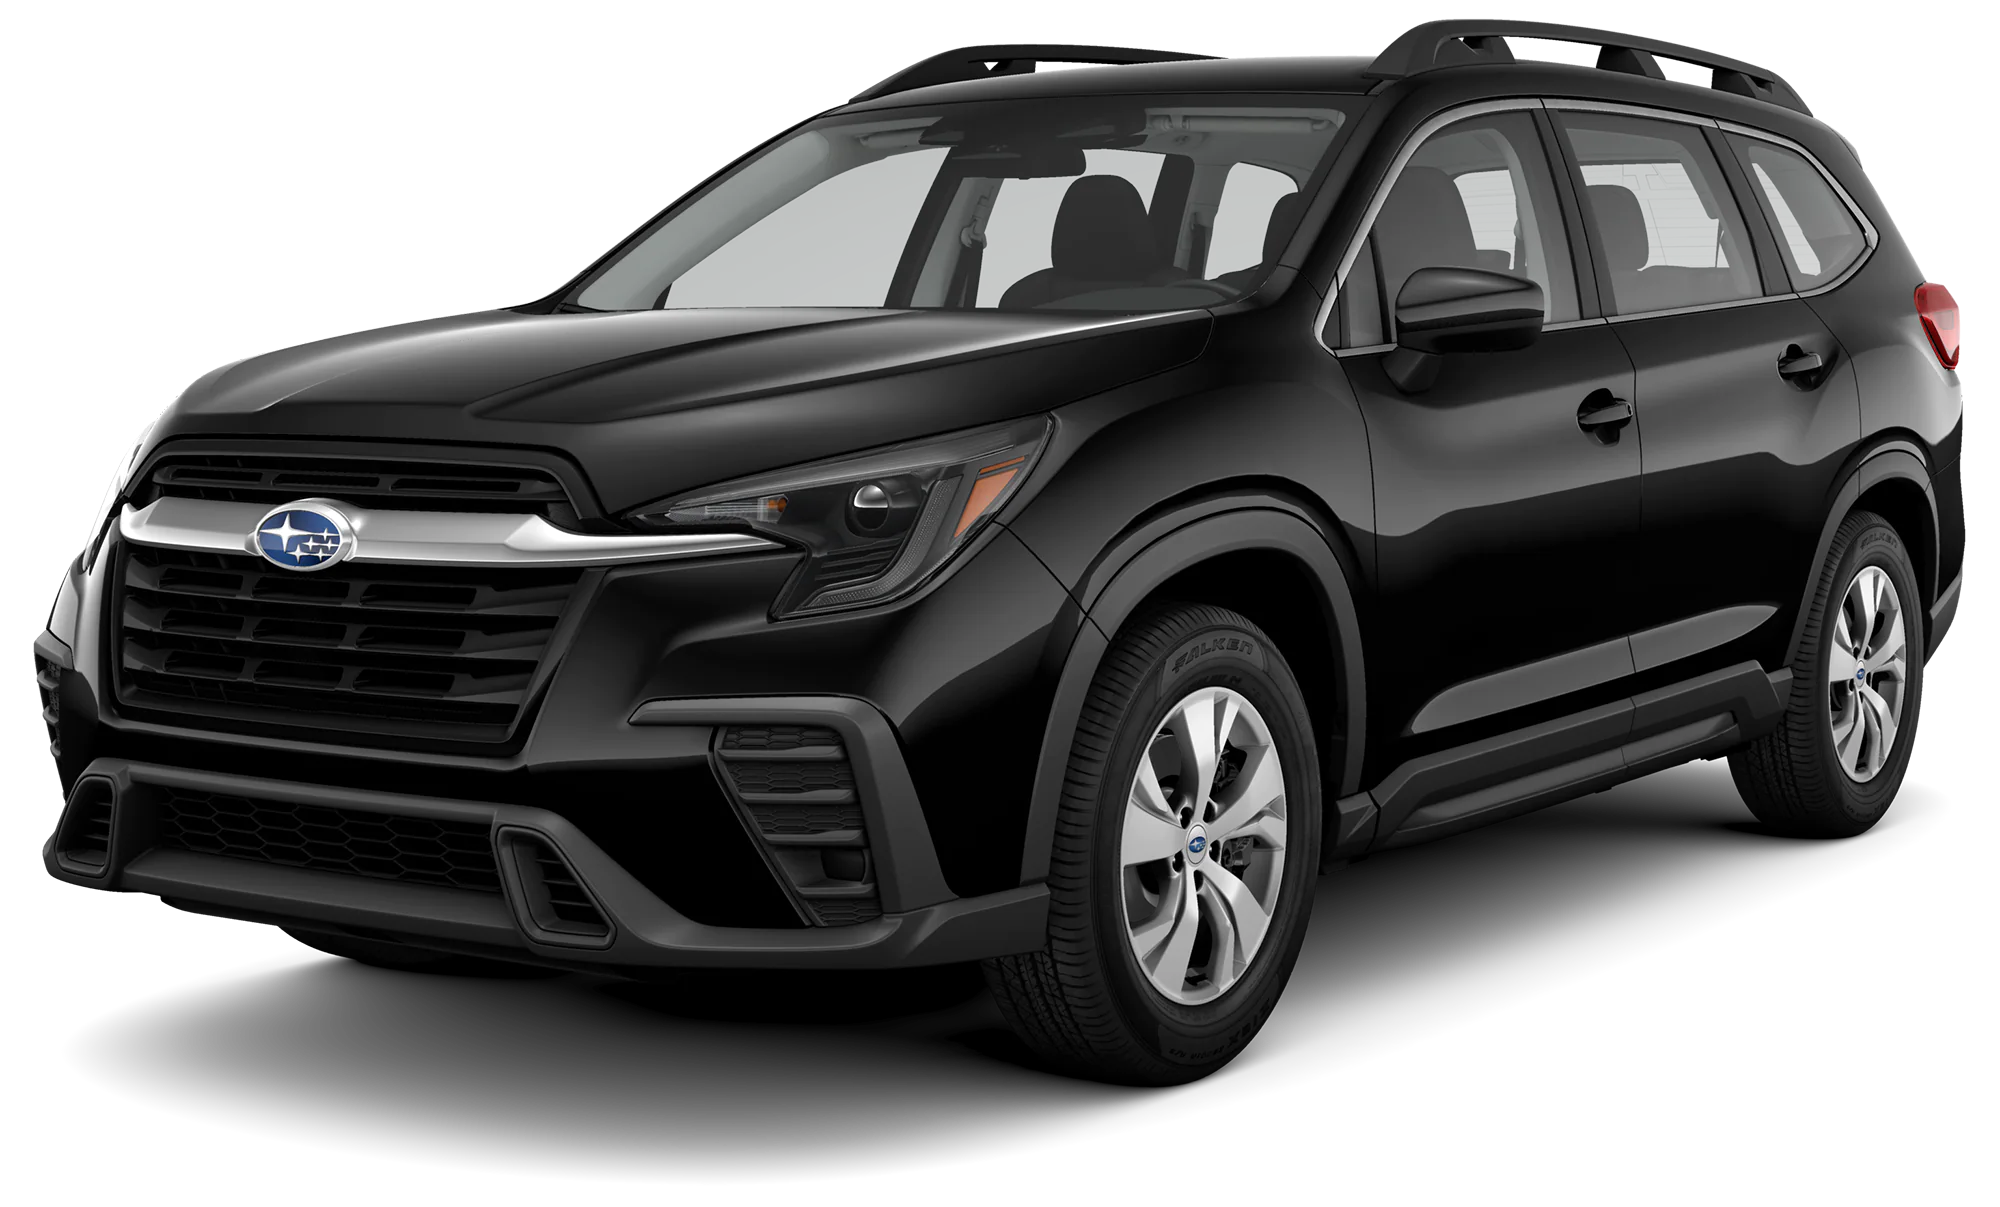
Accessory Installation Guide
| 2023MY (Ascent Auto Dimming Interior Mirror Installation Instructions | H505SAN000 |
Installation instructions
Instructions d’installatiion
Part number:
Numéro de piéce:
H505SAN000
Vehicle:
Véhicule:
Ascent
Description: Auto dimming mirror
Description: Tetroviseur antieblouissement
1
Disconnect battery cable from the negative battery stud.
Débranchez le câble de la batterie de la borne négative de la batterie.
2
Remove (2) 8mm bolts
Retirez (2) boulons de 8 mm
3
Pull down from rear of map light console to disengage tabs
Tirez vers le bas à partir de l’arrière de la console de la lampe de lecture pour désengager les languettes
4
Pull whole assembly rearward to disengage eyesight cover
Tirez l’ensemble complet vers l’arrière pour dégager le couvercle EyeSight
5
Unplug connector
Débranchez le connecteur
6
Push lower eyesight cover forward to disengage clips and remove
Poussez le couvercle EyeSight inférieur vers l’avant pour désengager les attaches et le retirer
7
Firmly grasp the factory mirror and remove by rotating the base and pulling away simultaneously from the windshield mounting button.
Saisissez fermement le rétroviseur d’oridine et retirez-le en tournant la base et en l’écartant simultanément du bouton de fixation du pare-brise.
8
1. Install the Compass mirror with HomeLink by aligning the mirror retention clips with the windshield mirror button and pressing against the mirror to fully seat the mirror.
2. Rotate the mirror until properly aligned with the reference notch shown
1. Installez le rétroviseur à boussole équipé d’HomeLink en alignant les attaches de fixation du rétroviseur avec le bouton de pare-brise du rétroviseur, puis en pressant suffisamment sur le rétroviseur pour bien le positionner.
2.Tournez le rétroviseur jusqu’à ce qu’il soit bien aligné avec la référence
9
Route mirror connector over eyesight module and slide onto connector tab
Acheminez le connecteur du rétroviseur par-dessus le module EyeSight et glissez-le vers languette du connecteur
10
1. Plug jumper harness into pre-wire connector and mirror and
2. Collect and tape excess harness to sheet metal using foam tape
1. Branchez le faisceau cavalier dans le connecteur de précâblé et dans le rétroviseur et
2. Ramassez l’excédent de faisceau et collez-le sur la tôle à l’aide de ruban mousse
11
Re-install lower eyesight cover by setting up and pulling rearward
Réinstallez le couvercle inférieur EyeSight en le soulevant et en le tirant vers l’arrière
12
Plug in map light console connector
Branchez le connecteur de la console
13
Re-install map light console by lining up eyesight cover and pushing forward. Then engage map light clips
Réinstallez la console de la lampe de lecture en alignant le couvercle EyeSight et en poussant vers l’avant Ensuite, engagez les attaches de la lampe de lecture
14
Re-install 8mm bolts
Réinstallez les boulons de 8 mm
15
Reconnect battery. If equipped reconnect eyelet cable. Tighten bolt to 66 in-lbs.
Rebranchez la batterie. Si elle en est équipée, rebranchez le câble de l’oeillet. Serrez les boulons à 66 po-lb.
16
Using dark cloth or cardboard, completely cover forward-looking sensor.
Avec un linge sombre ou un carton, couvrez complètement le capteur pointé vers l’avant.
17
To calibrate compass reference mirror user guide.
Pour étalonne la boussole, reportez-vous au manuel du rétroviseur.
H505SAN000
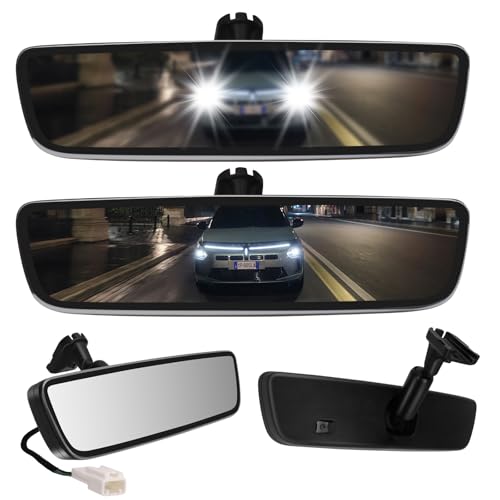
- Auto-Dimming Electrochromic Technology — Automatically darkens when bright headlights hit the rearview mirror, eliminating blinding glare instantly. No more flipping a manual tab. Safer night driving in one upgrade.
- True Universal Fit — Comes with a sliding metal bracket that adapts to most OEM button-style mounts. If your original mount doesn't match, simply swap to the included alternative metal base. Extended cable provides extra length for trucks, vans, and SUVs.
- Premium Frameless Design — Ultra-slim, sleek edge-to-edge glass with no plastic bezel. Looks OEM-pro and gives your interior a modern, clean finish
- DIY Installation (2 Options) — If your vehicle has a pre-wired plug , simply connect the plug-and-play harness and you're done. No plug? No problem — use the included extended cable and wiring kit to hardwire to your ACC fuse or dome light. Everything included: mirror, sliding bracket kit, alternative base, extended cable, wire ties, trim cover, and wrench.
- Why Upgrade from a auto dimming rear view mirror? — A basic rearview mirror costs $20-40 and does nothing. For a few dollars more, your auto-dimming mirror actively works for you every night — reducing eye strain, improving reaction time, and making every drive safer. Fits most vehicles from 2000 to present day.

- These mirrors eliminate the glare of headlights behind you for safer nighttime
- Mirror automatically dims as it detects glare
- The brighter the glare, the more the mirror dims
- Dimensions - 12 x 6.5 x 4.75 in.
- Gentex Auto-Dimming Rear View Mirrors

- AUTO_DIMMING: Automatically darkens to eliminate glare
- FRAMELESS DESIGN: Enhanced aesthetics to complement any vehicle interior
- CAR_TO_HOME AUTOMATION: Control garage doors, gates, home lighting, and more
- INTEGRATED HOMELINK 5: 99% compatibility with garage door openers and security gates
- COMPATIBILITY: Compatible with any wedge mount vehicle along with others using adapters (GENMM1, GENMM2, GENMM3)

- 1.【4.3-inch screen】: Our car rearview mirror display is a 4.3-inch color screen with a resolution of 480*272 and a 16:9 display format; the brightness of 500 cd/m2 ensures clear visibility even in bright sunlight.
- 2.【Auto-dimming function】: The HD is equipped with an automatic dimming function, which can adjust the brightness according to the ambient light conditions and automatically turn on the rearview camera screen when reversing. With an accurate distance scale line display, it can park and reverse correctly, making parking and reversing more convenient and .
- 3.【ABS shell】Our interior rear view mirror made of high-quality and materials. ABS shell, not only ensures its service life, but also adds a stylish and modern feel to your car interior.
- 4.【Practicality】Our 4.3-inch rearview mirror automatic dimming display is designed to provide high-definition and automatic dimming reversing images, solving the problem of poor rearview effect of the car and ensuring a safer parking and reversing experience.
- 5. 【Package List】The package contains 1 car rearview mirror monitor, 1 video cable and power cable, 1 extra cable cover, 1 English manual, 1 bracket and 5 screws, providing everything you need for easy and worry- installation.

- Auto-Dimming
- Integrated Compass
- Homelink integration
- Back Lit Buttons
SEOCONTENT-START
Installation instructions Instructions d’installatiion
Auto dimming mirror Tetroviseur antieblouissement
Tools required Outils requis
Part number: Numéro de piéce:
Kit contents Contenu de la trousse
H505SAN000
Description: Auto dimming mirror Description: Tetroviseur antieblouissement
ISSUE A
DATE 6/1/2022
SUBARU OF AMERICA
PAGE
1/6
A
Panel removal tool
Outil de dépose du panneau
Vehicle: Véhicule:
Ascent
10 mm
PART NUMBER H505SAN000
B C D
Wire harness Faisceau de câblage
Wire Tie Attache autoblo- quante
Foam Tape
Ruban mou se 1 2 10 mm Disconnect battery cable from the negative battery stud. Débranchez le câble de la batterie de la borne négative de la batterie. Remove (2) 8mm bolts Retirez (2) boulons de 8 mm 3 4 Pull down from rear of map light console to disengage tabs Tirez vers le bas à partir de l’arrière de la console de la lampe de lecture pour désengager les languettes Pull whole assembly rearward to disengage eyesight cover Tirez l’ensemble complet vers l’arrière pour dégager le couvercle EyeSight PART NUMBER H505SAN000 ISSUE A DATE 6/1/2022 SUBARU OF AMERICA PAGE
2/6 5 6 Unplug connector Débranchez le connecteur Push lower eyesight cover forward to disengage clips and remove
Poussez le couvercle EyeSight inférieur vers l’avant pour désengager les attaches et le retirer 7 8 1 2 Firmly grasp the factory mirror and remove by rotating the base and pulling away simultaneously from the windshield mounting button.
Saisissez fermement le rétroviseur d’oridine et retirez-le en tournant la base et en l’écartant simultanément du bouton de fixation du pare-brise. 1. Install the Compass mirror with HomeLink by aligning the mirror retention clips with the windshield mirror button and pressing against the mirror to fully seat the mirror.
2. Rotate the mirror until properly aligned with the reference notch shown
1. Installez le rétroviseur à boussole équipé d’HomeLink en alignant les attaches de fixation du rétroviseur avec le bouton de pare-brise du rétroviseur, puis en pressant suffisamment sur le rétroviseur pour bien le positionner.
2.Tournez le rétroviseur jusqu’à ce qu’il soit bien aligné avec la référence PART NUMBER H505SAN000 ISSUE A DATE 6/1/2022 SUBARU OF AMERICA PAGE
3/6 9 10 Route mirror connector over eyesight module and slide onto connector tab
Acheminez le connecteur du rétroviseur par-dessus le module EyeSight et glissez-le vers languette du connecteur 1. Plug jumper harness into pre-wire connector and mirror and
2. Collect and tape excess harness to sheet metal using foam
tape
1. Branchez le faisceau cavalier dans le connecteur de précâblé et dans le rétroviseur et
2. Ramassez l’excédent de faisceau et collez-le sur la tôle à
l’aide de ruban mousse 11 12 Re-install lower eyesight cover by setting up and pulling rear- ward
Réinstallez le couvercle inférieur EyeSight en le soulevant et en le tirant vers l’arrière Plug in map light console connector Branchez le connecteur de la console PART NUMBER H505SAN000 ISSUE A DATE 6/1/2022 SUBARU OF AMERICA PAGE
4/6 13 14 Re-install map light console by lining up eyesight cover and pushing forward. Then engage map light clips Réinstallez la console de la lampe de lecture en alig- nant le couvercle EyeSight et en poussant vers l’avant Ensuite, engagez les attaches de la lampe de lecture Re-install 8mm bolts
Réinstallez les boulons de 8 mm 15 10 mm Reconnect battery. If equipped reconnect eyelet cable. Tighten bolt to 66 in-lbs.
Rebranchez la batterie. Si elle en est équipée, rebranchez le câble de l’œillet. Serrez les boulons à 66 po-lb. PART NUMBER H505SAN000 ISSUE A DATE 6/1/2022 SUBARU OF AMERICA PAGE
5/6 E
PART NUMBER H505SAN000
DATE
A 6/1/2022
SUBARU OF AMERICA
PAGE
6/6 16 17
Using dark cloth or cardboard, completely cover forward-looking sensor.
Avec un linge sombre ou un carton, couvrez complètement le capteur pointé vers l’avant.
To calibrate compass reference mirror user guide.
Pour étalonne la boussole, reportez-vous au manuel du rétro-
viseur.
SEOCONTENT-END
This product presentation was made with AAWP plugin.