| “This site contains affiliate links for which OEMDTC may be compensated” |
Accessory Installation Guide
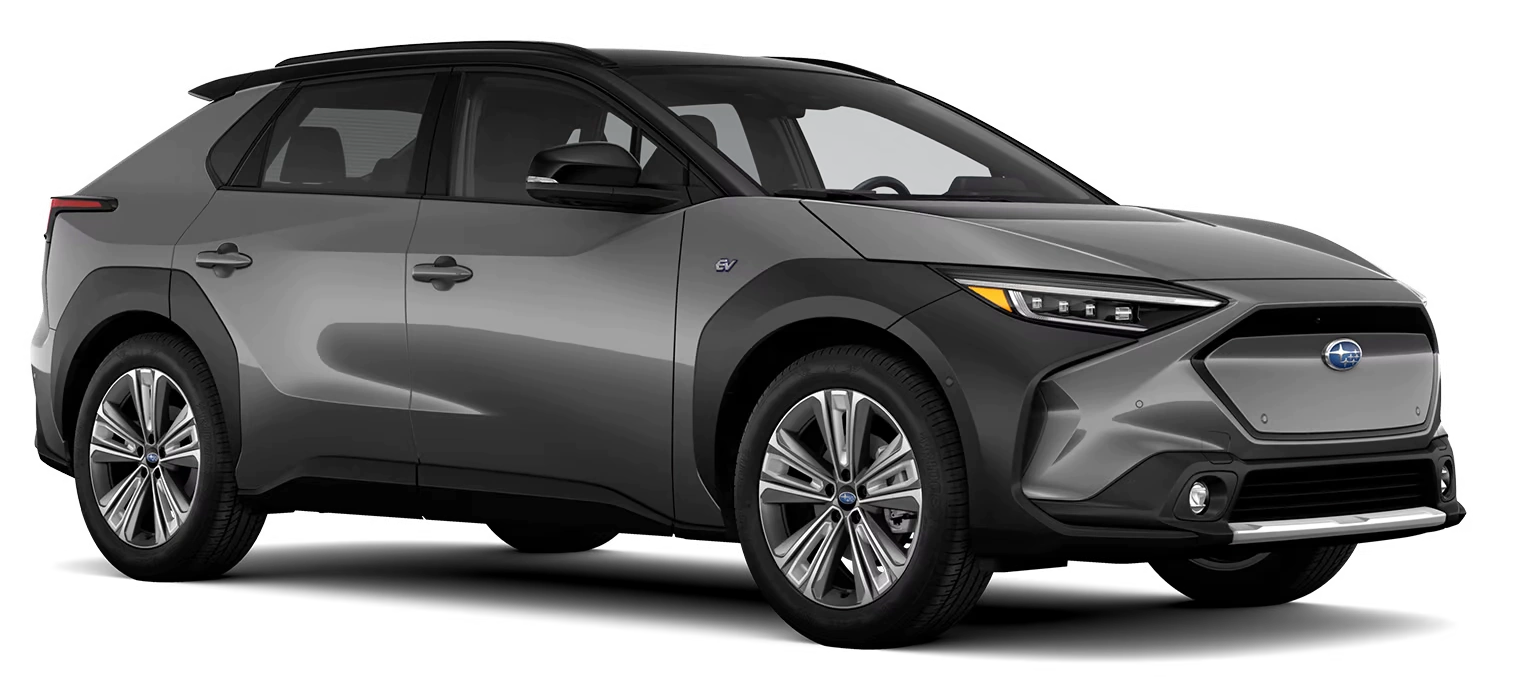
| 2023MY+ Solterra – Illuminated Door Sill | PT94242232 |
PART NUMBER: PT942-42232
INSTALLATION INSTRUCTIONS
DESCRIPTION: Solterra Illuminated Door Sill
STEP 1: Prepare for the Installation.
(a) Inspect all kit components and check for damage or missing parts.
(b) Remove the negative battery terminal.
CAUTION: Do not touch the positive terminal with any part of the tool when removing the cable.
STEP 2: Disassemble the Vehicle.
(a) If any door sill covers are present, use a standard process for removing double sided taped-on parts/badges.
NOTE: Unless otherwise specified, the procedure for the driver side and passenger side is the same.
(b). Disengage the two claws on the inside bottom and the four clips to remove the front left and front right inner door scuff plates.
(c) Remove the front left and front right cowl side covers.
(1) Remove nut holding on cowl side cover using either a Phillips screwdriver or by hand.
(2) Pull the cover straight away from the body to detach one clip in the direction of the arrows. Use a nylon pry tool if If a clip is stuck to the body after removal, remove the clip and reattach it to the cowl cover.
(d) Detach the front left and front right weather seal from the bottom pinch weld
STEP 3: Install Preparation
(a) Cut out installation template and tape to the vehicle using the alignment features as shown.
4. Installation of Driver Side Illuminated Door Sill
(a) Clean the door rocker area with alcohol and water.
NOTE: The work area, door sills and vehicle door surface temperature must be at least 60°F (16°C).
(b) Remove the protective tape from the adhesive backing on the door sill (Fig. 4-1).
(c) Carefully align the rear end of the door sill with the fixture. Ensure the door sill is parallel with the pinch weld and tape it down.
(d). Press the door sill onto the rocker and apply pressure evenly to ensure it attaches firmly.
(e) Place one pinch weld bridge on the pinch weld in the area where the cable exits the door sill. (Fig. 4-3)
(1). Secure the door sill cable to the pinch weld bridge by looping electrical tape (Fig. 4-3)
NOTE: Tape the pinch weld bridge to the wire such that excess wire is not present between sill and pinch weld clip.
(2) Thread the door sill harness under the weather seal and reinstall the weather seal over the pinch weld bridge.
NOTE: Make sure the bridge ends under the soft part of the weather strip.
(f) Route the sill harness along the vehicle harness and secure with 4 cable ties as shown. Use a cutting tool to remove the excess length of the cable ties.
(g) Disconnect the blue vehicle harness branch connector from the blue female connector in the LH side kick panel.
h) Using a flat head screwdriver, lift up on tab of female connector and remove from the white housing.
(i) Reinstall the white bridge connector from the hardware kit into the slot in the white housing and clip into place.
NOTE: The vehicle harness connector and mating bridge connector colors do not match! The white bridge connector goes on the LH side and blue bridge connector goes on RH side of the vehicle.
(j) Plug blue vehicle harness connector back into front port of the white bridge connector.
(k) Plug illuminated door sill harness into back port of bridge connector.
(l) Secure the illuminated door sill harness to the vehicle harness branch with a 5th cable tie. Trim excess length of the cable ties with a cutting tool.
(m) Clip kick panel back into place and reinstall the plastic nut with either a Phillips screwdriver or hand tightening.
(n) Reinstall the vehicle scuff plate by applying pressure to engage the clips.
5. Install the Passenger Side Door Sill.
(a) Repeat Step 2(a) through Step 4
(b) on the passenger side.(b) Disconnect the white vehicle harness branch connector from the white female connector in the LH side kick panel.
(c) Using a flat head screwdriver, lift up on tab of female connector and remove from the white housing.
(d) Reinstall the blue bridge connector from the hardware kit into the lower left slot in the white housing and clip into place.
NOTE: The vehicle harness connector and mating bridge connector colors do not match! The white bridge connector goes on the LH side and blue bridge connector goes on RH side of the vehicle.
(e) Plug white vehicle harness connector back into front port of bridge connector.
(f) Plug illuminated door sill harness into back port of bridge connector.
(g) Repeat steps 4(l) and 4(m) to reinstall vehicle components.
STEP 6: Test the Door Sills.
(a) Temporarily reconnect the negative battery terminal.
(b) Press in the front door courtesy switches to check the function of the front door scuff plates.
(1) The door sill light should be on with the door(s) open.
(2) The door sill light should turn off after 15 seconds when all of the door courtesy switches are pressed in.
STEP 7: Reassemble the Vehicle.
(a) Reassemble the vehicle by reversing Step 2(a) through Step 2(h).
(b) Tighten the negative battery cable (Fig. 7-1).
(1) Position the negative battery cable at the original factory position.
(2) Tighten the nut to 5.4 N-m (48 lbf-in) of torque. Torque: 5.4 N-m (48 lbf-in)
(3) Do not touch the positive battery terminal with any tool when replacing the cable.
PT94242232
 Loading...
- WRX
 Front Illuminated Side Sill Plates
 - H461SVC200
- 2022 2023 2024 WRX

- Illuminated side sill plates feature the WRX
 logo in bright white lighting and add an attractive accent to the doorframe
 - Lighting is activated when the door is opened and turns off when the door is closed.
- lluminated side sill plates
- H461SFN200
- 2024 Crosstrek
- Illuminated side sill plates feature the Crosstrek logo in bright white lighting to add an attractive accent to the door sills
- Lighting is activated when the door is opened and turns off when the door is closed
- Genuine Subaru
 Ascent illuminated cargo sill platge kit
 - H461SXC300
- Features bright white lighting to add an attractive accent to the trunk sill's left and right upper surface. Lighting is activated when the hatch is opened and turns off when the hatch is closed. Engineered to stand up to everyday wear and tear and helps protect the upper surface from scratches and scuffs.
- 2019-2025 Ascent
- Genuine Subaru
 not aftermarket
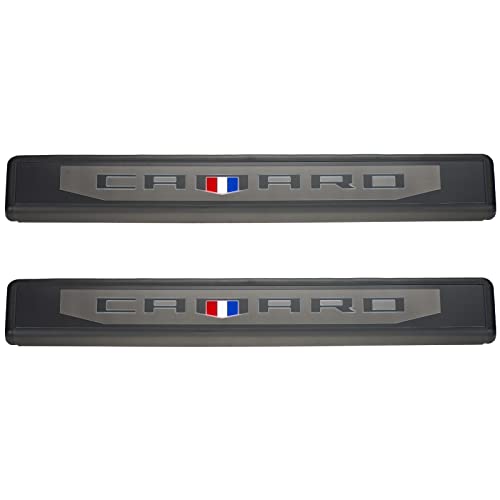
- Genuine General Motors part that fits your specific vehicle
- Door Sill Plate
- Part Number: 84127637
- Manufactured to meet specifications for fit, form, and function
- Fits: 2005-2012 Toyota Camry
- Protects door sills from scuffs, scrapes and scratches
- Durable brushed stainless steel construction
- Quick installation
- Front illumination only
- Sti
 Front Illuminated Side Sill Plates
 - H461SVC210
- 2022 2023 2024 WRX

- Illuminated side sill plates feature the STI
 logo in bright RED lighting and add an attractive accent to the doorframe
 - Lighting is activated when the door is opened and turns off when the door is closed.
- And Vehicle Specific
- Manufacturer
- Toyota Quality Assured
- OEM, Not After Market
- Vehicle Specific
- Perfectly Fit: Fit for Subaru
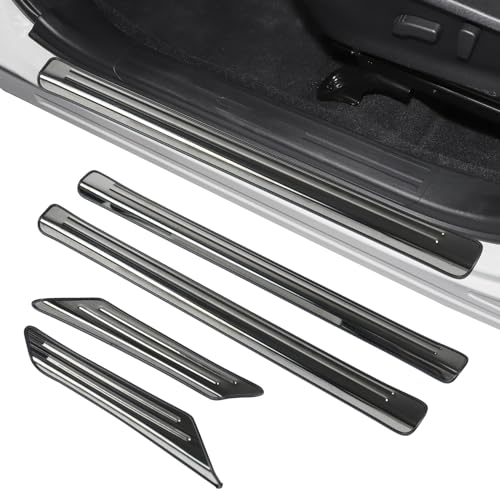
 Forester 2019 2020 2021 2022 2023 2024, this Door Sill Protector is custom-made to fit your car's front and rear doors, providing a seamless and stylish appearance. Please check your car, before placing the order
 - High-quality Material: Made of stainless steel, wear-resistant, easy to clean and not easily deformed,no need to worry about the original car door being worn and soiled.
- Easy to Install: Attached with a Self Adhesive Tape. Easy Installation, No Tool Required.
- Package Inlcuded: Door Sill Protector Cover 4 pcs/set
- Full Protection: It not only can protect the door sill from scratches, abrasion, kicks and stains, but also can be an exquisite interior accessories. Suitable for all weather and road conditions, protect your car from mud, sand, rocks, rain, snow and other debris
- 【Custom Mold for Crosstrek】Compatible for Subaru
 Crosstrek 2018-2025, door Sill Protector is Designed According to the Original Car Data, fit Perfectly with the Car Door Frame.
 - 【High-Quality Material】Door sill scuff protector adopts Leather material that are dirt and wear resistant to protect your car door frame.No worrying about car paint scratches anymore!
- 【Practical】These Door Entry Guard protect your truck by protecting the door sill from being scraped and dirty. Also it can be used to cover any existing scratches.It also easy to clean. Whether it is dust or dirt, cleaning the surface with a brush rag slightly, it will become new immediately.
- 【Easy to Install】Simply tear off the label at the back of door sill scuff plate to reveal the sticker and attach it to the threshold of the car.Design of the protectors includes the logo of the car model,which perfectly matches with your car.
- 【Package Includes】4*Outer Door Sill (2pcs For Front Door, 2 pcs For Back Door)
Last update on 2025-05-08 / Affiliate links / Images from Amazon Product Advertising API
This product presentation was made with AAWP plugin.


 Front Illuminated Side


