| “This site contains affiliate links for which OEMDTC may be compensated” |
NUMBER: 15-185-15R
DATE: 08/24/15
REVISED: 09/08/15
| APPLICABILITY: | 2012-14MY Legacy and Outback |
| 2012-15MY Forester Models | |
| 2013-14MY XV Crosstrek Models | |
2012-15MYWRX and STi Models Models | |
| 2012-14MY Impreza Models | |
| SUBJECT: | Cellular Phone Pairing to Clarion Audio Units |
INTRODUCTION:
This Service Information bulletin is intended to provide helpful insight to use when responding to customer inquiries involving the pairing and use of cellular phones with Clarion audio units. This includes customer concerns where the phone will not automatically pair itself but instead requires manual phone selection on the audio unit to allow pairing to proceed.
SERVICE PROCEDURE / INFORMATION:
There are 2 ways to pair a cellular device to a Clarion audio unit:
- Pair using the Hands-free (voice command /recognition) or VR feature (RECOMMENDED).
- Pair using the Bluetooth “hands-on” audio feature (using the buttons on the face of the unit. This is NOT the recommended pairing method.
Of these 2 pairing options, the Hands-free method which utilizes the Talk switch on the steering wheel and follows a series of voice commands is the recommended method primarily because of its user-friendliness. In addition, the paired phone automatically re-connects to the unit any time the ignition is turned on. The Hands-free method also allows for pairing of more than one phone.
In contrast, when using the “hands-on” procedure, every time the ignition is turned on, the user must “re-synchronize” the paired phone with the audio unit by following a lengthy series of manual steps utilizing buttons and controls on the faceplate. Customers often find this procedure to be cumbersome if they are even aware the option exists. In addition, only one phone can be paired at a time using this mode. If an attempt to pair a second phone is made, a “MEMORY FULL’ message will be shown on the display. The Bluetooth audio (“hands-on”) procedure is provided in the applicable Owner’s Manual.
For purposes of this bulletin, only the recommended Bluetooth Hands-free (VR) pairing method will be reviewed here and the corresponding photo sequence provided.
NOTE: Before beginning the pairing procedure, the phone being paired must be placed in the “discoverable” mode from the device’s Settings / Bluetooth menu.
VERY IMPORTANT: After receiving a voice prompt from the system and pressing the talk switch, the user must always WAIT FOR THE BEEP before speaking back to the system with their command. Speaking before the beep will result in the command being cut off and in most all cases, misinterpreted by the system’s voice recognition software. This can lead to frustration and customer perception of a problem with the unit when in fact, it is operating normally.
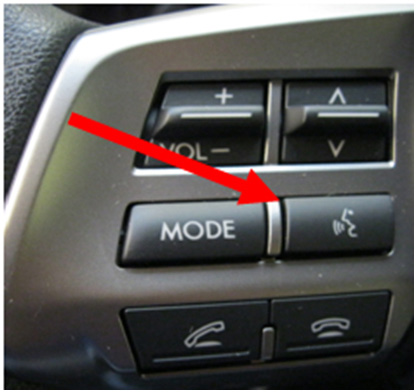
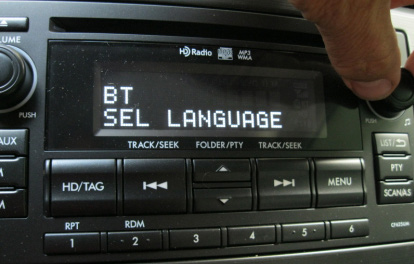
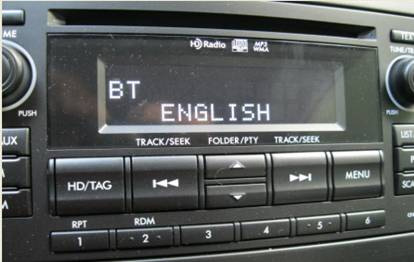
PRELIMINARY STEP. Press the “Talk” switch on the steering wheel satellite switch and listen to the voice which will provide some basic information, instructions and a list of options to select from. In some cases, a “SELECT LANGUAGE” screen may be displayed. Turn the Tune / Track knob to select the language desired then press the talk switch, (wait for the beep) and say “Confirm”.
VR Pairing Procedure:
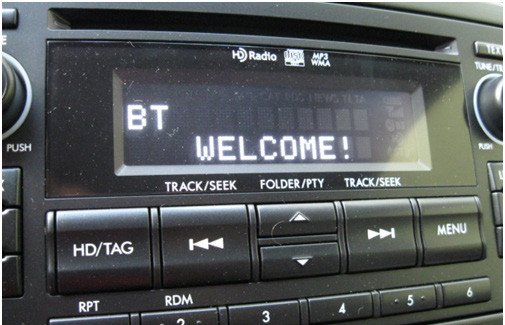
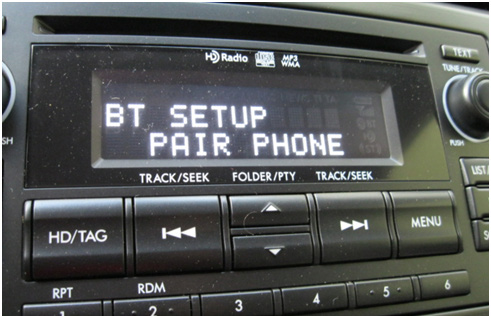
NOTE: If the system does not automatically display the SETUP / PAIR PHONE screen after the WELCOME screen refer to TSB 15-186-15
Step 1. Push the talk switch, (wait for the beep)then say “Setup”.
Step 2. Push the talk switch, (wait for the beep) then say “Phone Setup”.
Step 3. Push the talk switch, (wait for the beep) then say “Pair Phone”.
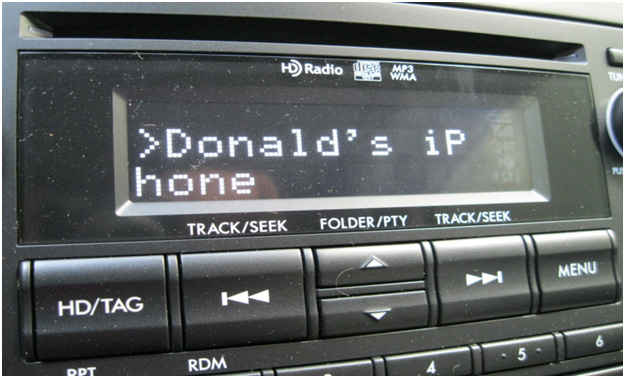
Step 4. The system will confirm (repeat) the stated command then instruct to press the talk switch (wait for the beep) and say a name for the phone. In this example, “Donald’s iPhone” was the user-stated phone name.
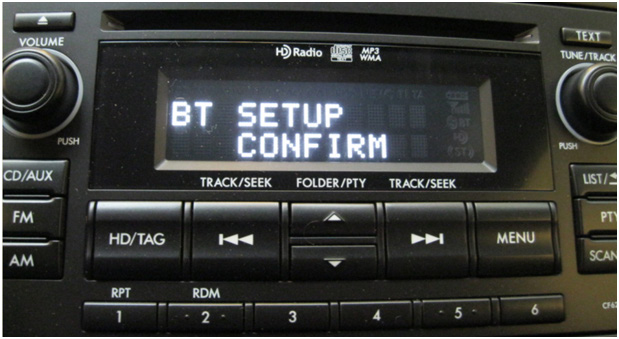
Step 5. The system will play back the recorded phone name then instruct to push the talk switch again (wait for the beep) and say “Confirm”.
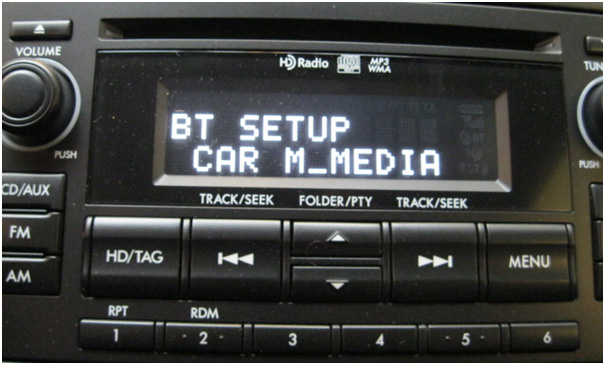
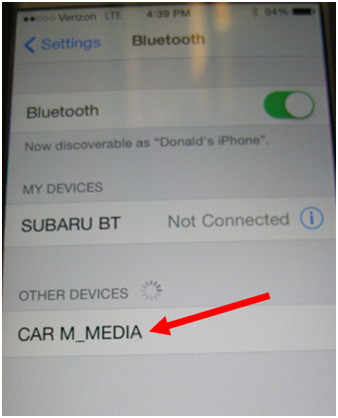
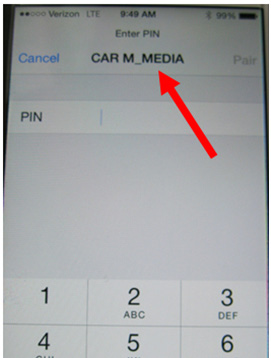
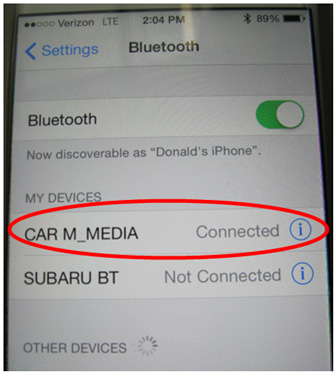
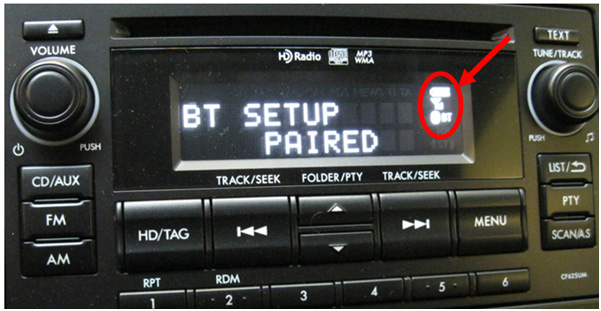
Step 6. After repeating “CONFIRM”, the system will automatically begin the pairing process and start searching for a phone to pair with. The system generates its own “name” which will be shown on the display and on the phone’s list of paired devices. In this case “CAR M_MEDIA” was the name used.
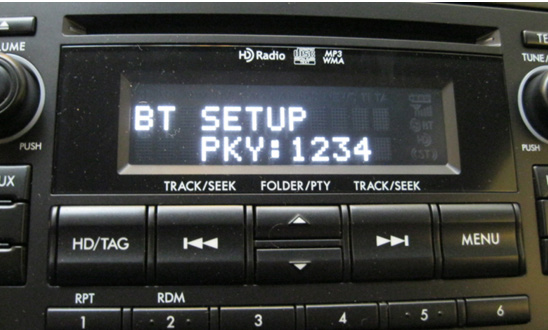
Step 7. The system will also assign and display a “pass key” (PKY) which must be entered using the phone’s keypad to complete the “synchronization”.
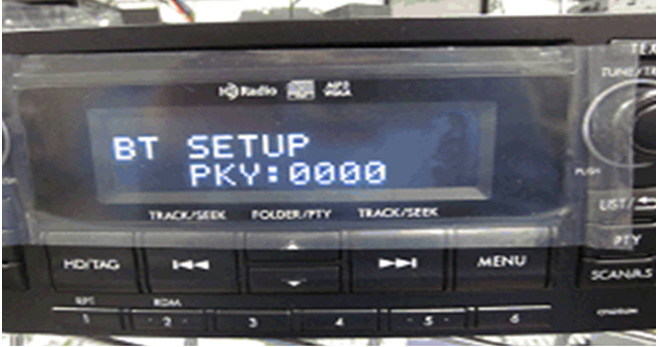
IMPORTANT NOTE: When pairing some Android-based phones, if unable to pair the phone, the pass key may need to be changed from the default 1-2-3-4 to 0-0-0-0. The pass key change can also be performed using the VR feature. Exit the pairing procedure by cycling the key then performing the pass key change steps listed below.
7A – Push the talk switch, wait for the beep then say “Setup”.
7B – Push the talk switch, wait for the beep then say “Phone Setup”.
7C – After the system lists the available options from the phone setup menu, push the talk switch, wait for the beep then say “Set Pass Key”.
7D – Push the talk switch, wait for the beep then say the new 4-digit pass key (zero-zerozero-zero).
7E – The system will repeat and display the new 4-digit pass key. If OK, push the talk switch, wait for the beep then say “Confirm”. If N/G, push the talk switch, wait for the beep then say “Go back”. The system will go back to step 7D. Once your voice input matches the pass key displayed, push the talk switch, wait for the beep then say “Confirm”.
After the pass key change is complete, cycle the ignition key and restart the VR pairing procedure over again from Step 1.
After entering the pass key into the phone, the process will complete automatically, the audio unit will be listed on the phone, the Bluetooth icons will be shown on the display as confirmation and a voice prompt will announce the phone is now paired and ready to use. Additional phones can be paired by following this same procedure starting with Step 2.
REMINDER: SOA strongly discourages the printing and/or local storage of service information as previously released information and electronic publications may be updated at any time.
Always refer to STIS for the latest service information before performing any repairs.
 Loading...

Hi,
I have a Subaru Forester 2014 but cant get past BT Please Wait.
Is there something I can do to resolve this? I have tried pulling the fuse to the radio, in an attempt to reset it, i have tried with the phone connected to the USB, and not connected, but the Audio system wont go past BT Please wait when pressing the button on the wheel or BT-A Please wait when pressing menu on the head unit.
Thanks,